
Why verify?
One of the most important steps on ensuring your website is going to be found properly on Google is by verifying it with Google Search Console. Not only does this tell Google your website exists, but it also tracks how people have found your site through Organic Google Search.
It gives you a breakdown of which pages are ranking for which search terms which is very useful, although there is no way to drill down by location so it only shows global averages. And it also shows your average ranking for search terms, as well as the number of sites linking back to your site (The all important Backlinks metric).
The reports might not be the easiest to read and you may choose to use a paid option to make the information much clearer, BUT, there’s another key aspect of Search Console, and that’s submitting your Site Map.
A Site Map tells Google exactly what pages your website consists of, and more importantly, when you update it. So that it knows to go and re-crawl your website.
If you’re impatient, you can also request that a page you’ve changed goes into a priority queue for indexing, and it will also warn you of any potential harmful errors on your site.
Verification Methods
There are a couple of options for verifying Google Search console, the first one is the best way, as it’s permanent even if you change which platform your website is on, and it works on every single type of website platform. But it does require some basic DNS knowledge.
Starting Verification
Head over to: https://search.google.com/search-console/about and click Start Now, log in with your Google Account (if you don’t have one, you will need to create one at this stage).
Click the menu on the top left, and choose “Add a Property”
You will then be presented with 2 options:
Domain Level – which would be aperturedesign.co.uk for example
URL Prefix – which would be the full https://www.aperturedesign.co.uk
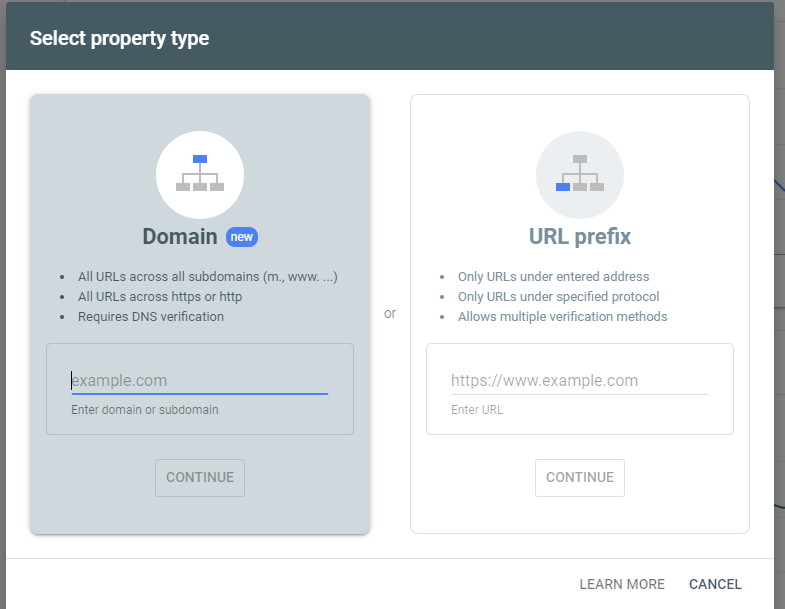
Let’s look at the options.
Option 1 – Domain Level – best option, but requires DNS changes
To verify at this level, you are going to enter your domain name without any prexies, as shown below:
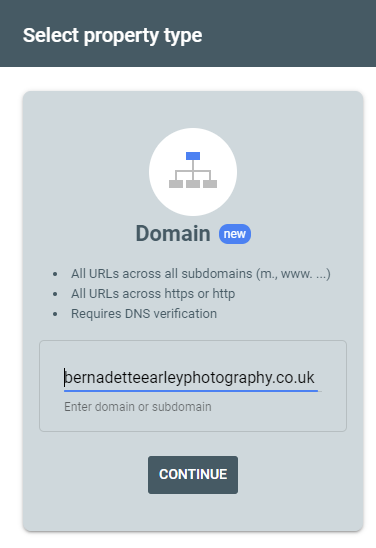
Once you click Continue, it will generate a piece of code for you like this:
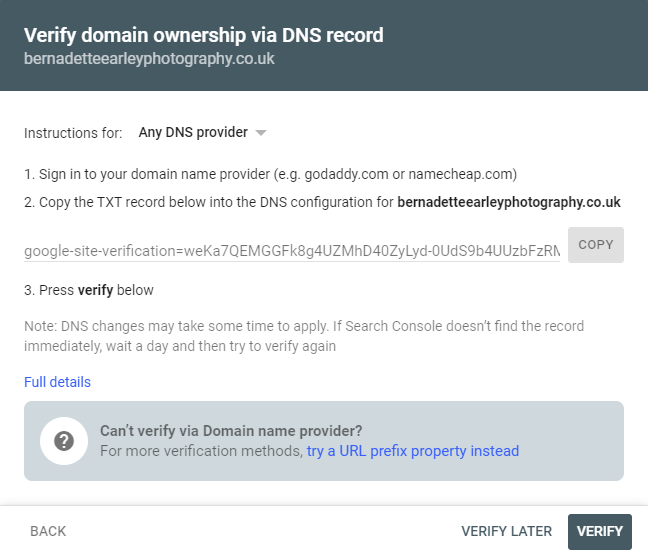
And you need to copy that code, and paste it into your DNS records as a TXT record:
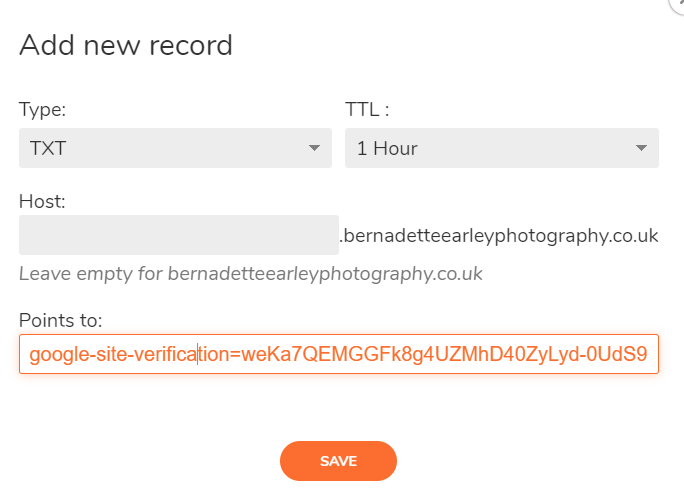
Save it, wait 15 minutes, click verify and you’re done! This is completely platform agnostic and works for everything.
If you’re on our hosting, then don’t worry, all you need to do is email us with the code that’s been generated and we will do this for you. We don’t charge for DNS management.
Option 2 – URL Prefix using WordPress & Yoast
For option 2, we are going to look at verifying the site using a URL Prefix, and the Yoast SEO plugin on WordPress.
For this, you need to enter the full address of your site, as it appears when you are viewing your site, such as below, please note the https://www. prefix
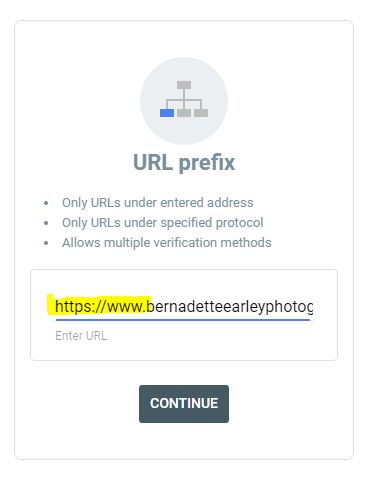
On clicking Continue it is going to give us several options:
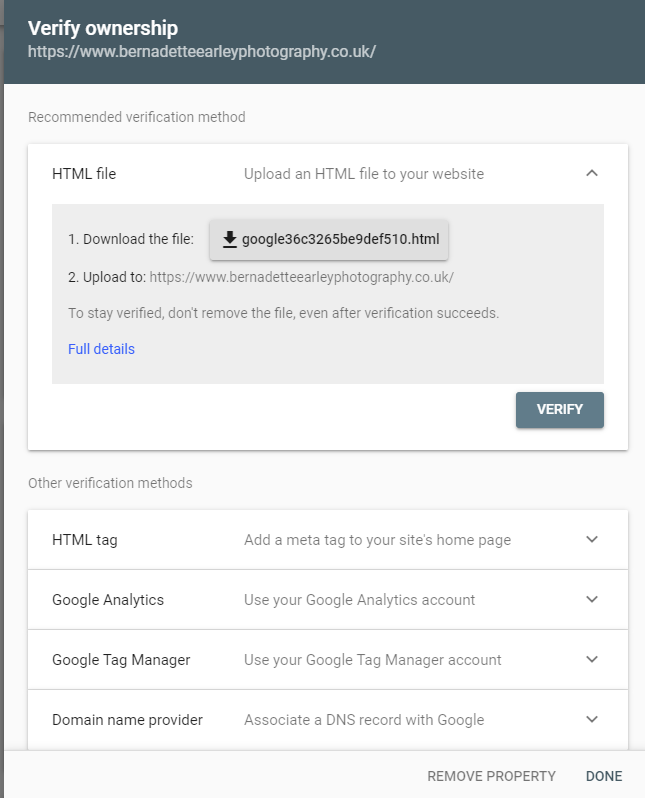
I am going to ignore what Google says is their recommended method here for a couple of reasons, firstly, most people don’t want to worry about loading files directly to the backend of their website. This isn’t an option on the likes of Squarespace and Weebly, and a lot of people who use WordPress just want to do everything within WordPress rather than go into their hosting login and file manager.
If you are happy to do that, then you are probably more than capable of using the better DNS method anyway.
So instead, we’re going to look at using the HTML tag Method. Click on that to expand it:

We don’t need the whole code as we’re going to use Yoast to do this. So just copy it into a text file so you can see the code within the “content” section:

Head over to the Yoast SEO General Settings, WebMaster Tools, and then paste this code in there:
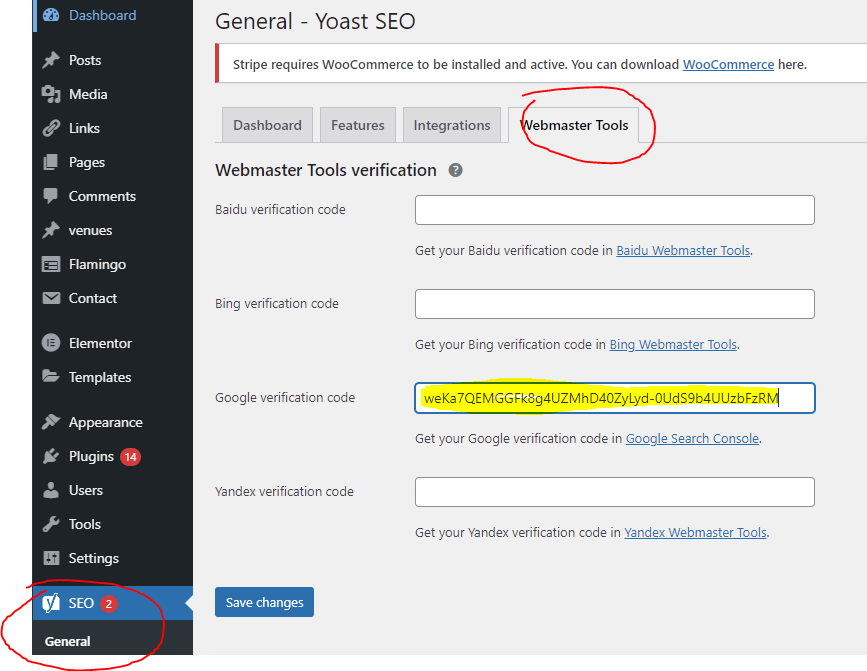
Save Changes, and then click Verify on Search Console, and you’re good to go.
Option 3 – Using URL Prefix on other platforms
On any platform not using Yoast, we have to paste the code into the header of the website. We start off the same, by entering your full URL:
And again drop down and copy the code under HTML tag:
We are going top copy that tag, and paste it into the header section of your website. To do this is different depending on the platform that you’re on. Links are below, and if I’ve missed any please let me know and I’ll find them and add them:
- WordPress using Divi – In Theme Options under the <head> tag https://www.elegantthemes.com/documentation/divi/theme-options/
- SquareSpace – https://support.squarespace.com/hc/en-us/articles/205813918
- Wix – https://support.wix.com/en/article/verifying-your-site-with-google-search-console-6081361
- Weebly – https://www.weebly.com/seo/search-console
Track your keywords and backlinks with our awesome reporting tool
If you want to to keep track of your keywords locally, including map pack results, as well as all of the backlinks to your site and any potential issues that may be harming your SEO, then we have just the thing!
Our reporting tool tracks up to 50 keywords for you, updates daily and provides a fully interactive online report, no boring PDF reports!
Check it out here


0 Comments